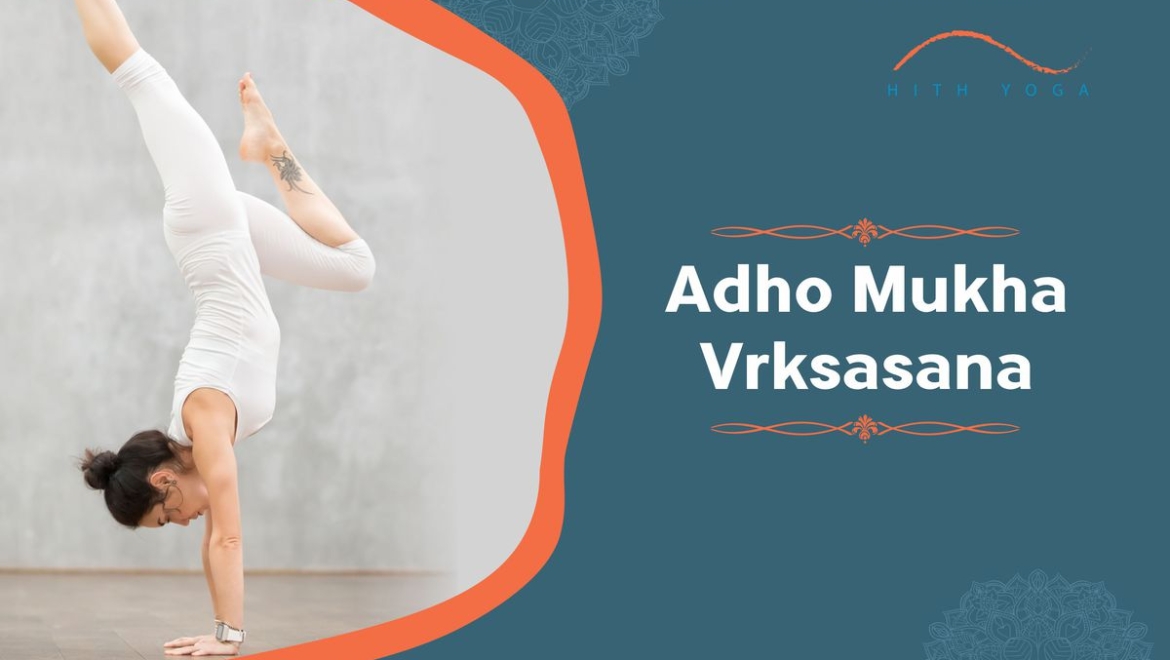
Have you heard about the handstand pose or mountain pose? Just flip upside down, and you have a handstand. Go ahead and try it. Adho Mukha Vrksasana is an inverted asana with forearm balance. It has a natural fear of falling; Adho Mukha Vrksasana is an asana derived from the words adho Mukha means face, adho is downward, and mukha is faced, vrksa is a tree, and asana is a pose.
It has shoulders, arms, wrists, balancing targets, and an advanced form of yoga. It promises to provide you the fresh energy and strength for various body parts. It ignites your Sahasrara chakra or crown (7th) chakra. Devotionally believed that amrita or nectar of immortality is stored in this chakra. When you do Adho Mukha Vrksasana, this amrita flows in your whole body and gives you positive energy and enthusiasm by setting right to all body functions.
Benefits of doing Adho Mukha Vrksasana:
Adho Mukha Vrksasana is an asana of handstand, which is all about a strong core. It is also known as a downward-facing tree or tilted tree pose. If you do it in a perfect manner, it will be recognized as a firmly rooted tree.
- It builds and makes your shoulders, arms, and wrists strong.
- It helps stabilize your spine and creates more flexibility through the hamstring to kick up into the posture.
- It is an inverted pose, so it helps in sending your blood to your head. This exercise will energize you and, conversely, calm you.
- It helps to improve your sense of balance.
- This asana gives a good belly stretch, your abdomen, and your tummy.
- It enhances the blood circulation in your body.
- Adho Mukha Vrksasana is an ideal remedy for stress and mild depression.
Steps to practice Adho Mukha Vrksasana:
Follow the steps to practice Adho Mukha Vrksasana if your doctor has advised you to do the same. You should avoid this asana if you have high blood pressure, stroke, detached retina, glaucoma, recent dental bone transplant, or injury/pain in your neck, shoulders, or wrist. Practice it with the help of a wall, instructor, or with your friend.
- Firstly, come into a downward-facing dog pose with your hands about 6 inches away from the wall.
- Secondly, walk your feet in closer to your hands, bring your shoulders over your wrists, and your hips over your shoulders.
- Keep your right foot on the ground, lifting onto the ball of it, and begin to bend at your knee. You left your other side foot off the ground straightening the lifted leg behind yourself.
- Try to bring both your heels to the wall. Remember not to have anything on the wall; otherwise, you may get hurt if touched. Keep your head down between your upper arms and breathe deeply.
- Keep your feet flexed, you will need to strongly engage your legs and reach up through your heels, and then you can start to work on bringing your gaze to the ground.
- Bring your one leg down at a time and rest before trying to kick up with the opposite leg to balance your body.


Add Comment